Skip to content
Start Cooking Seasonally
– FREE E-COURSE –
start cooking
in just 5 days!
SUBSCRIBE
Home
About
Expand
About
Work with Me
Recipes
Expand
Appetizer
Booze
Bread
Breakfast
Dessert
Expand
Brownies
Cakes, Pies, & Tarts
Cookies
Ice Cream
Main Dish
Expand
Meat
Pasta
Pizza & Flatbreads
Pork
Poultry
Sandwiches
Seafood
Seasonal Cooking
Salad
Side Dish
Soup and Stews
Newsletter
Shop
Expand
Cookbooks
Amazon Shop
Toggle Menu
Search
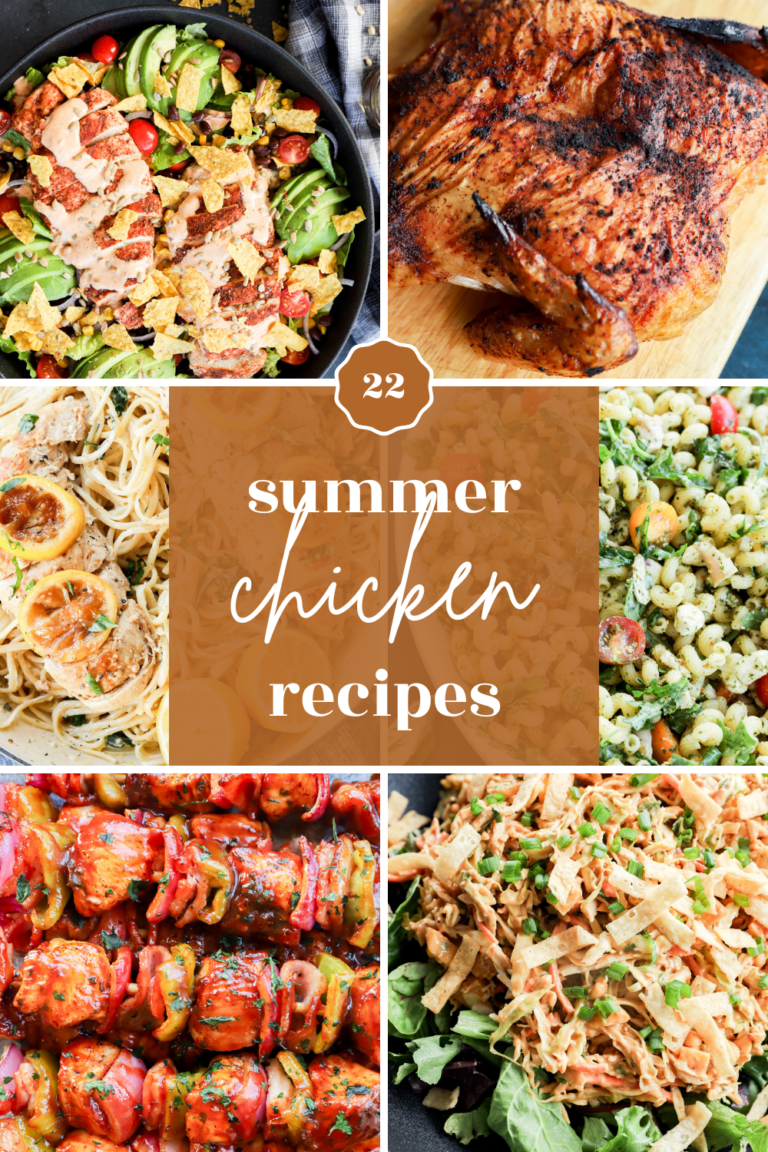
22 Favorite Summer Chicken Recipes
Easy Peach Cocktails
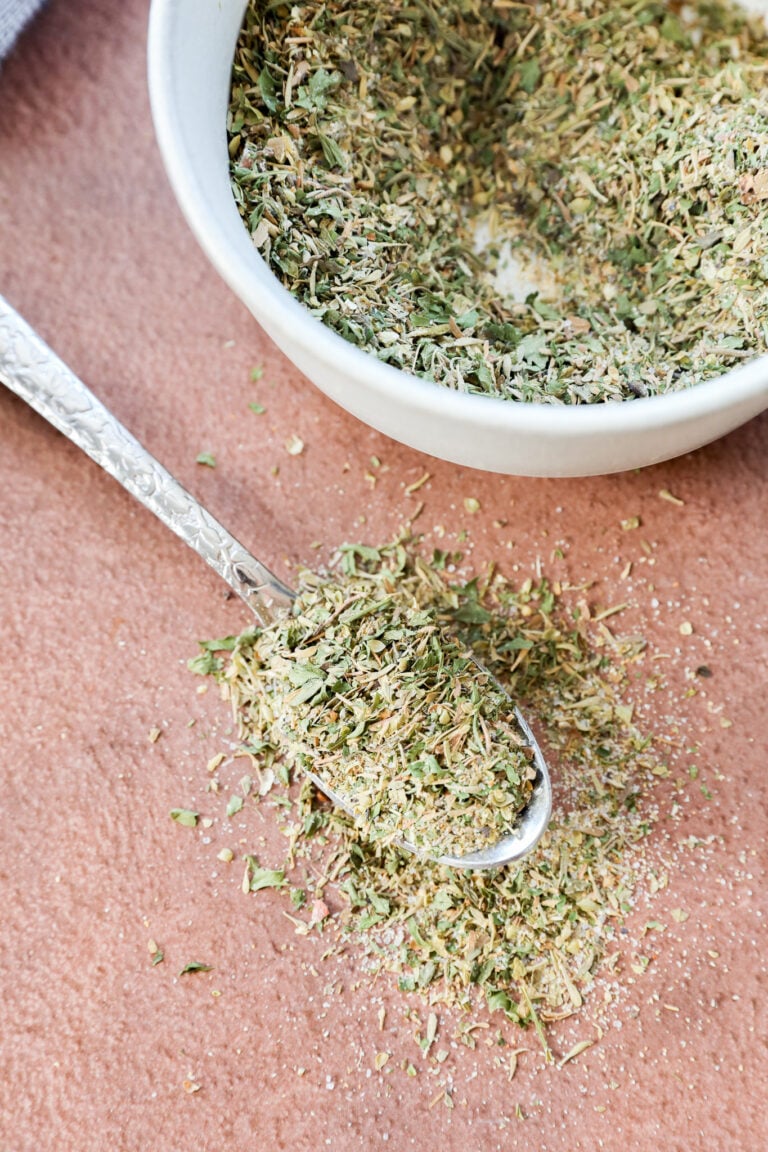
Garlic Herb Seasoning
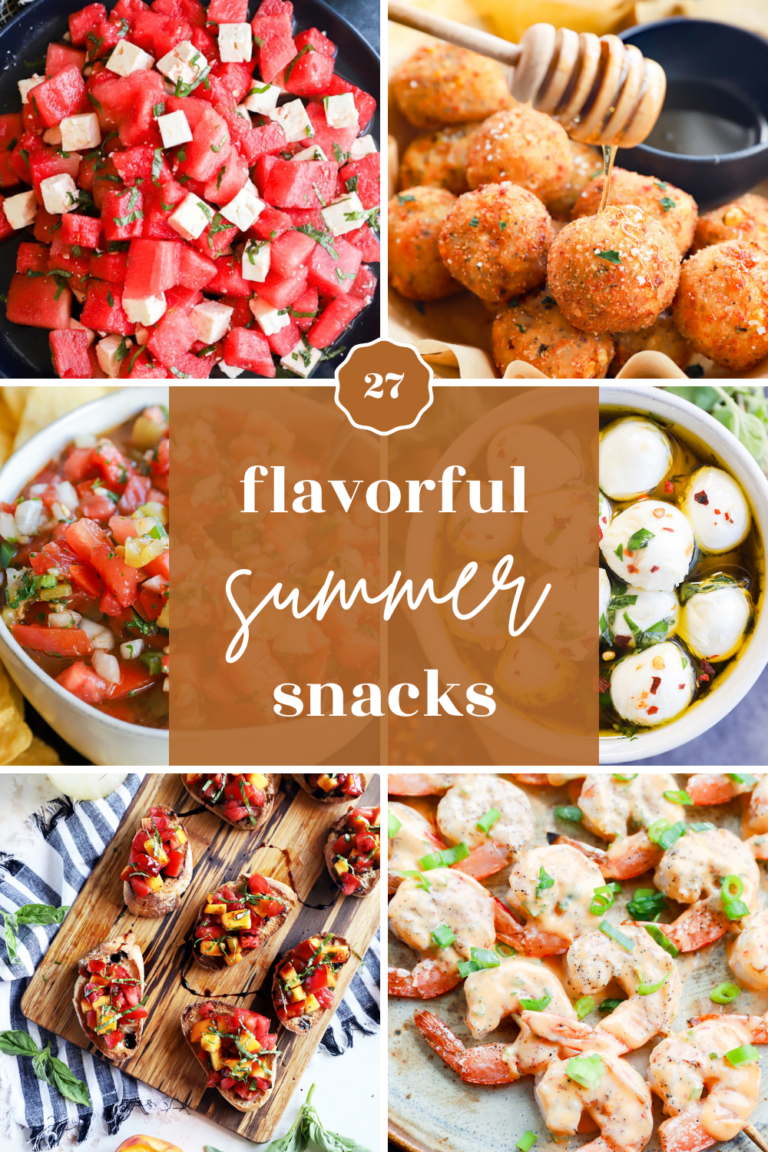
Easy Summer Snacks
Tinto de Verano (Spanish Red Wine Cocktail)
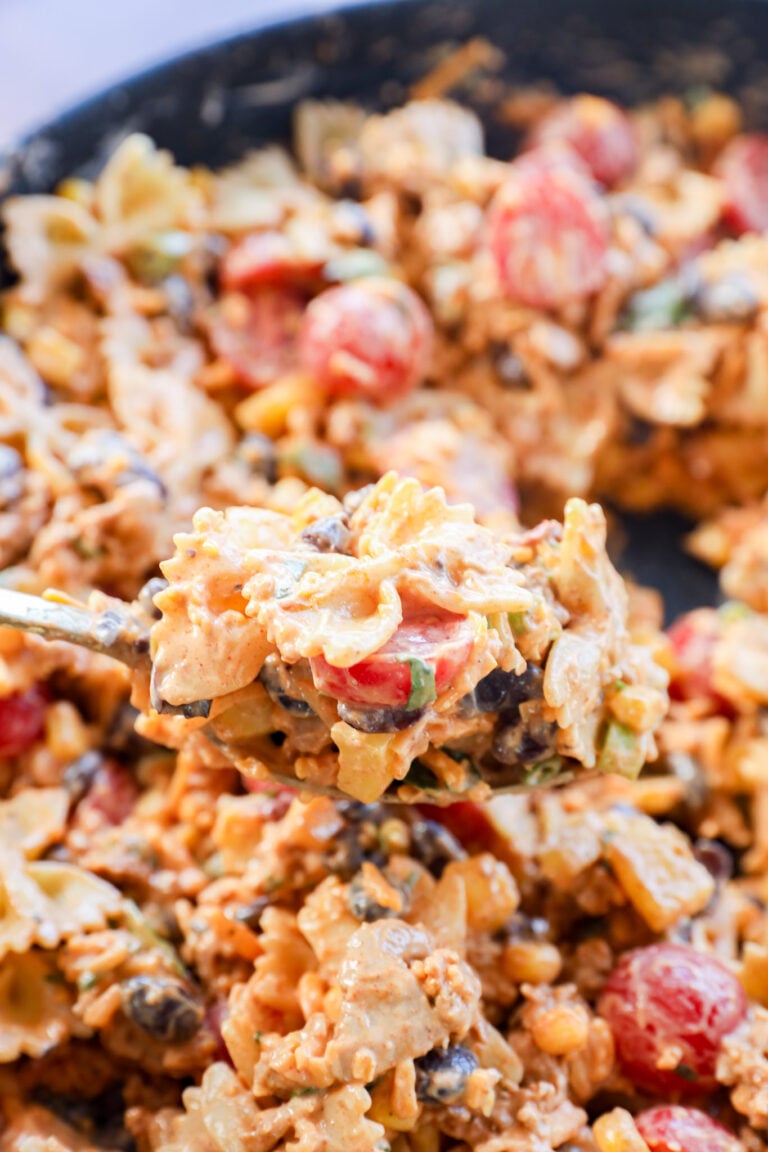
Easy Taco Pasta Salad
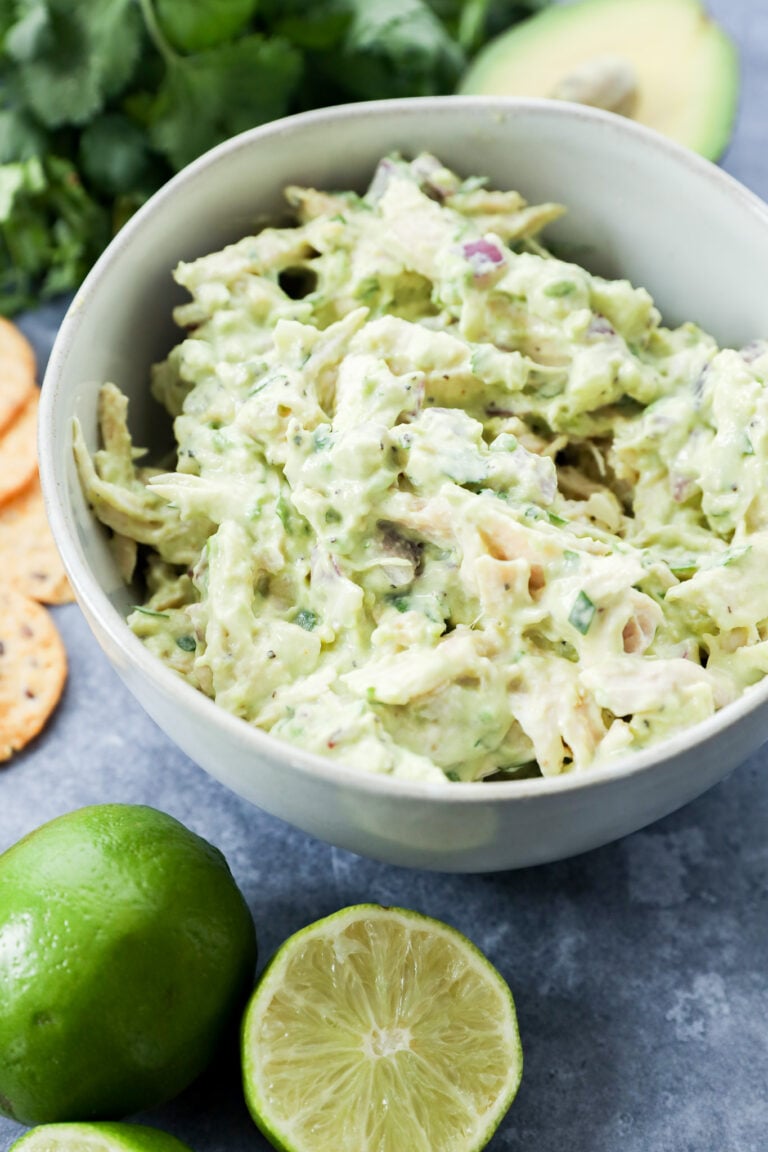
Avocado Chicken Salad
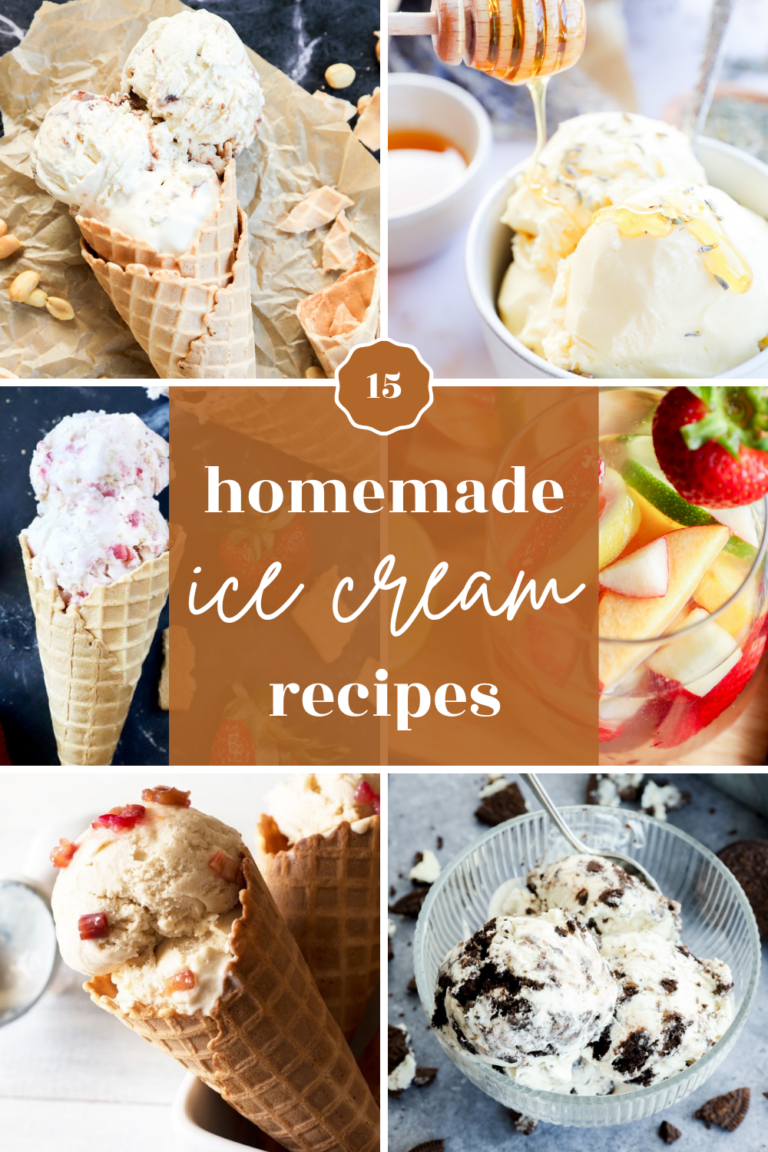
Homemade Ice Cream Recipes
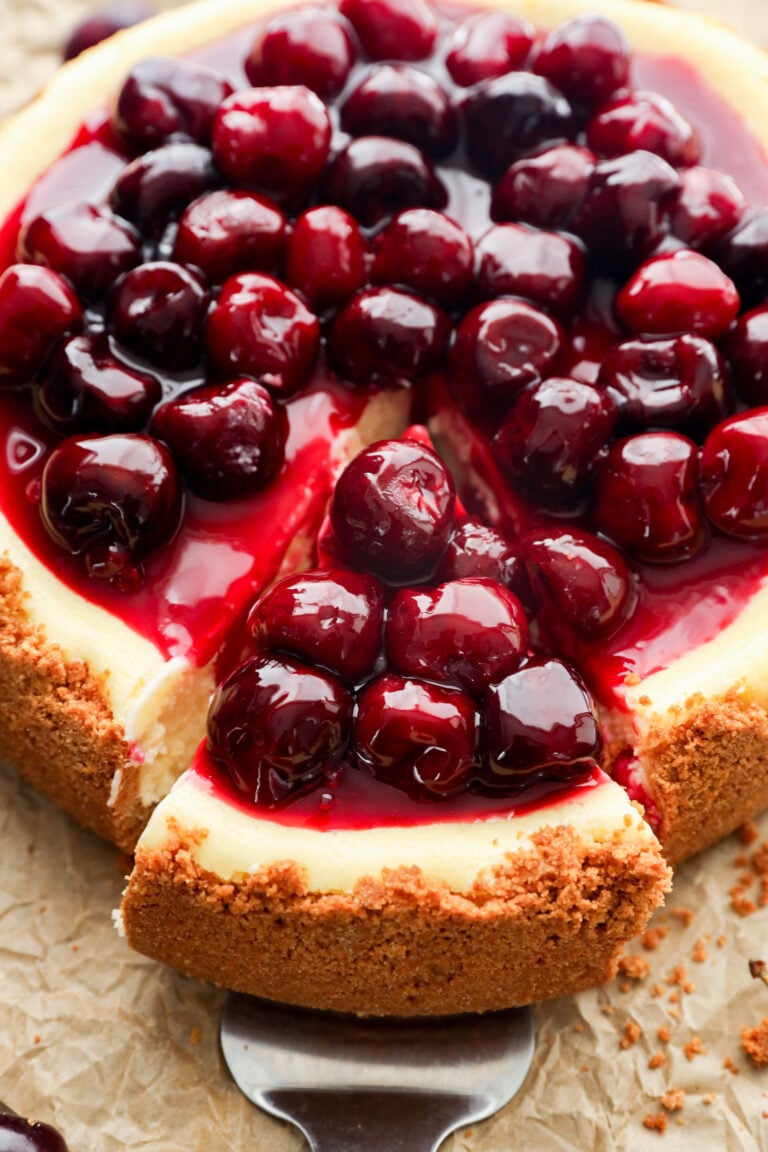
Cherry Cheesecake Recipe (with Fresh Cherry Topping)
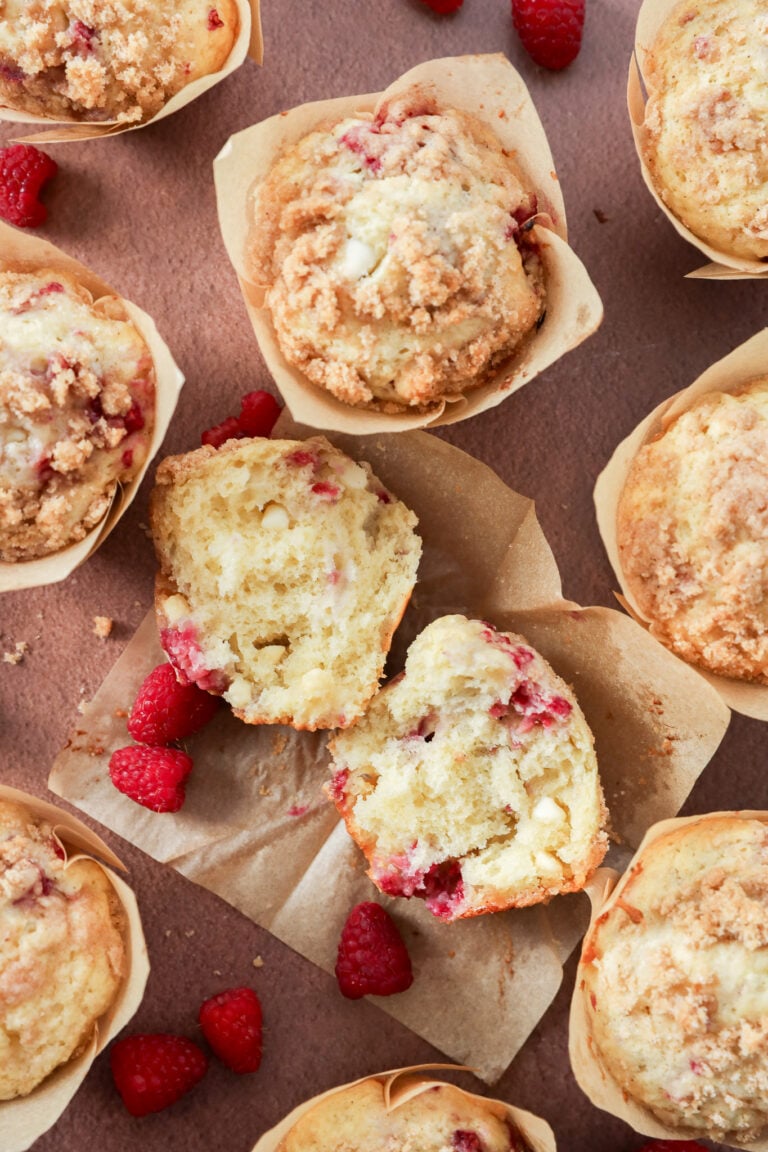
Raspberry White Chocolate Muffins
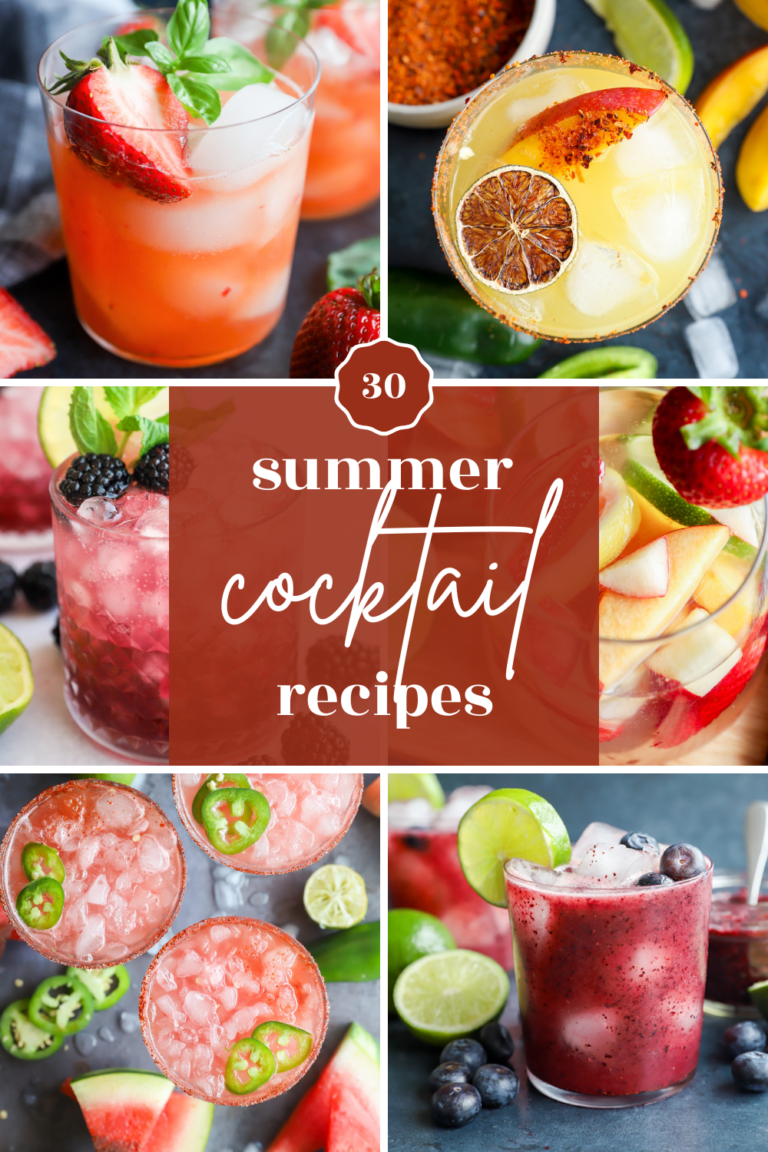
34 Best Summer Cocktail Recipes
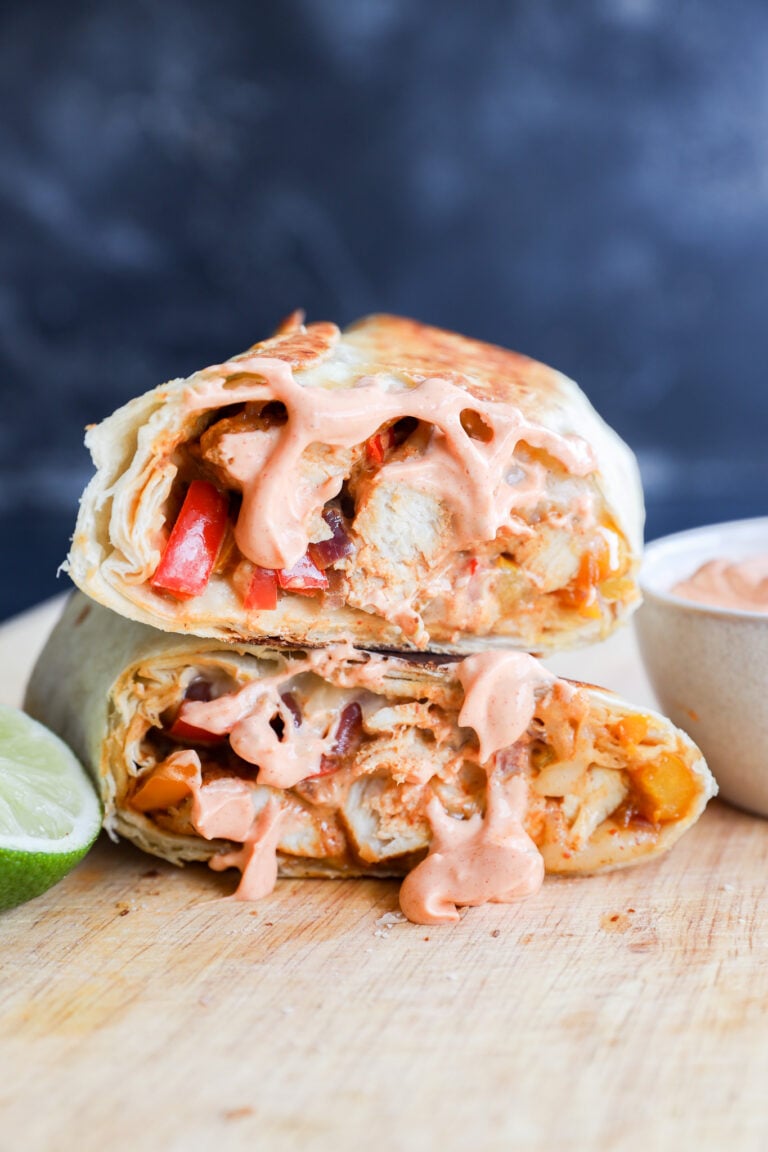
Chicken Fajitas Wrap
Strawberry Icebox Cake
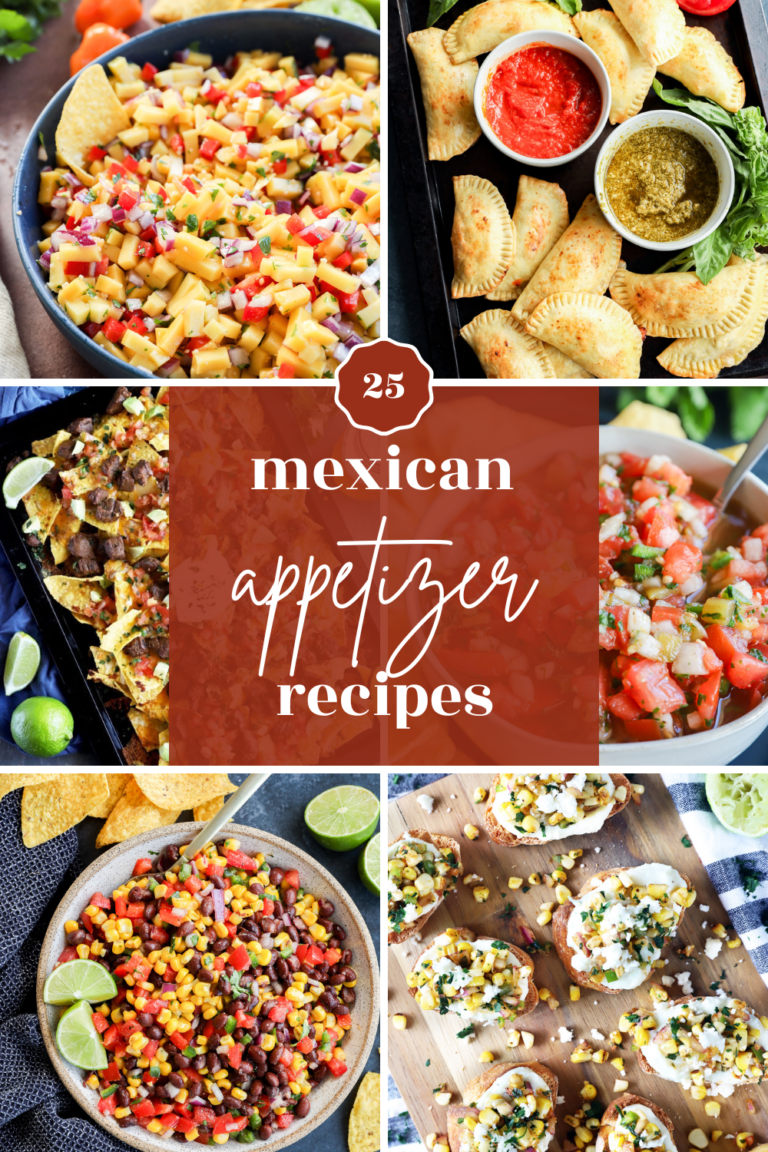
25 Easy Mexican Appetizer Recipes
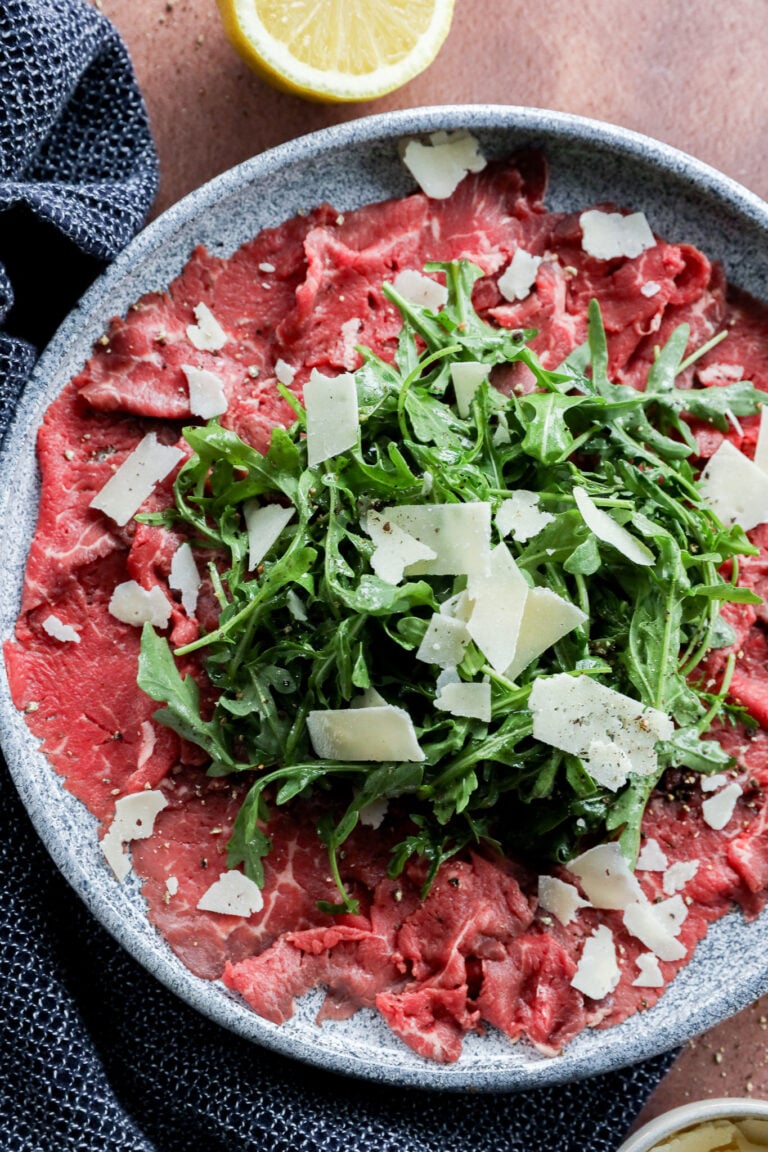
Carpaccio di Manzo Recipe (Italian Beef Carpaccio)
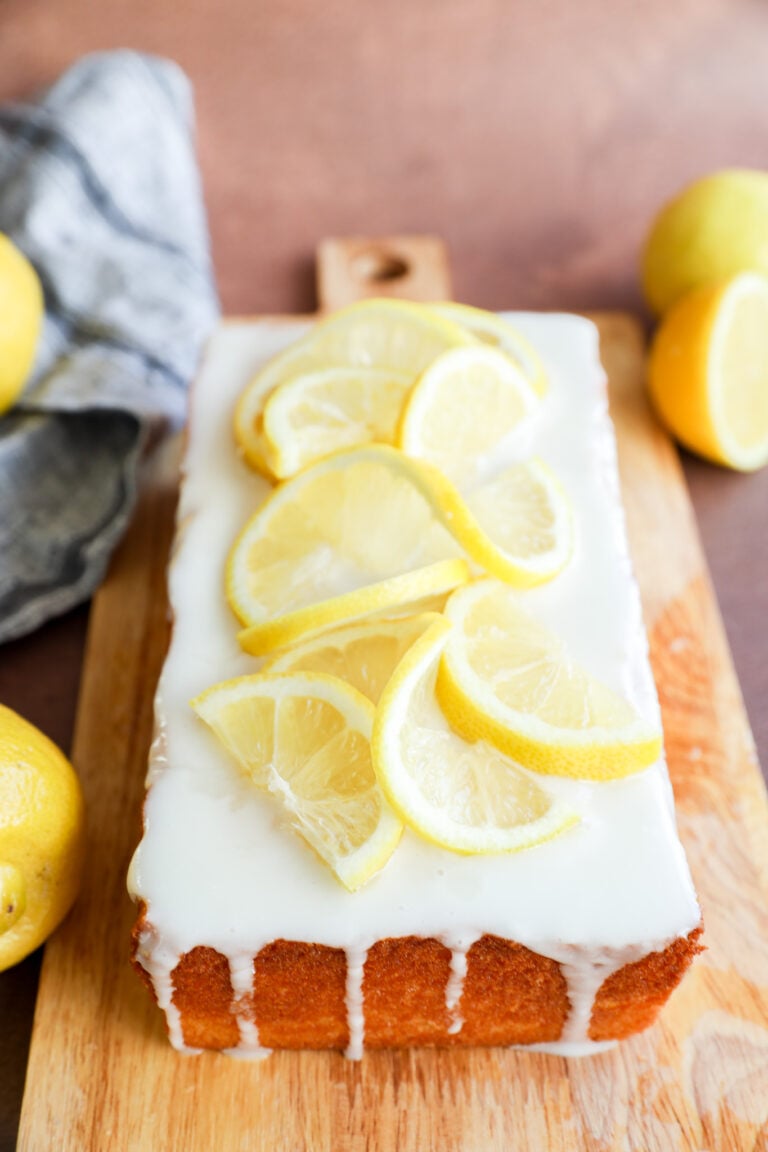
Lemon Loaf Cake
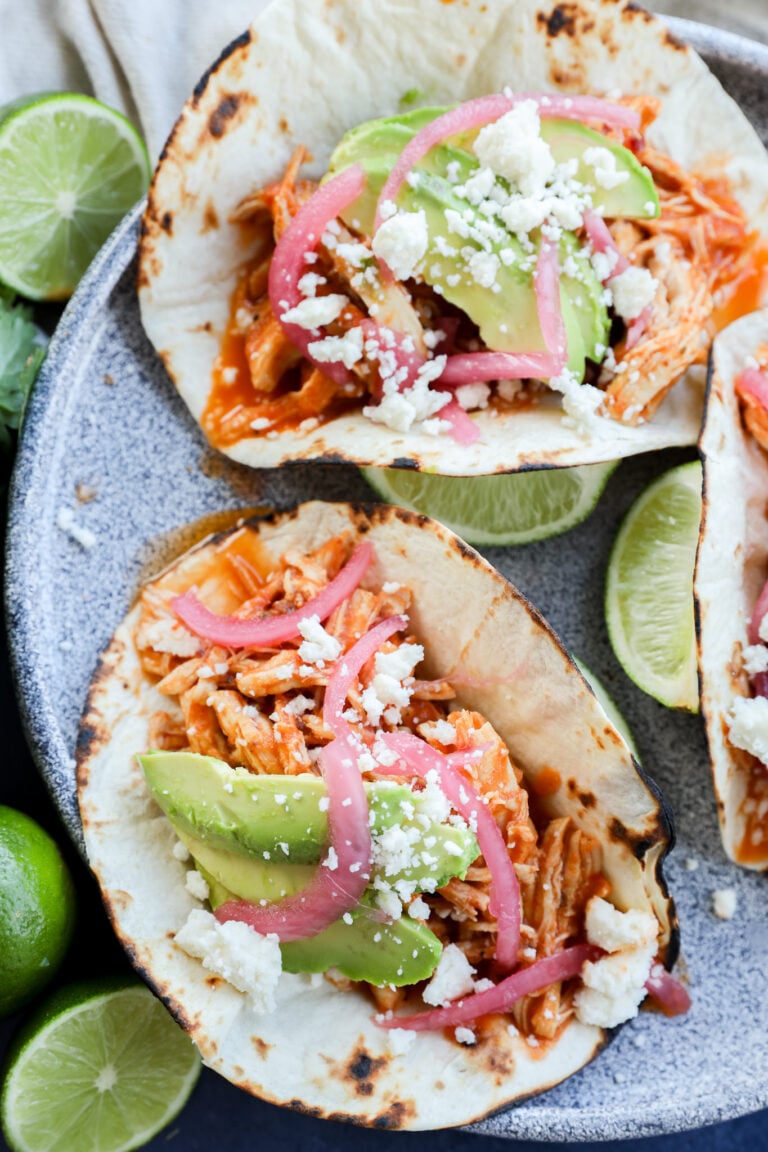
Instant Pot Chicken Tinga Tacos
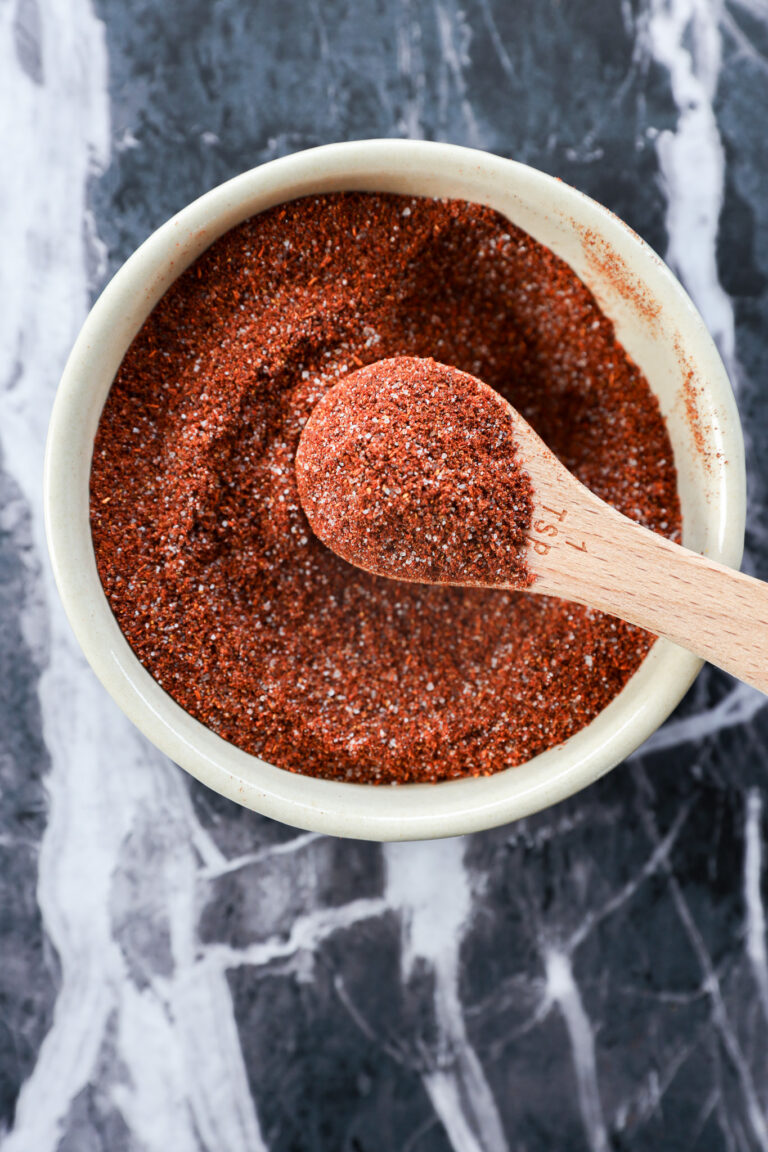
Chili Lime Seasoning Recipe
Thai Chicken Salad
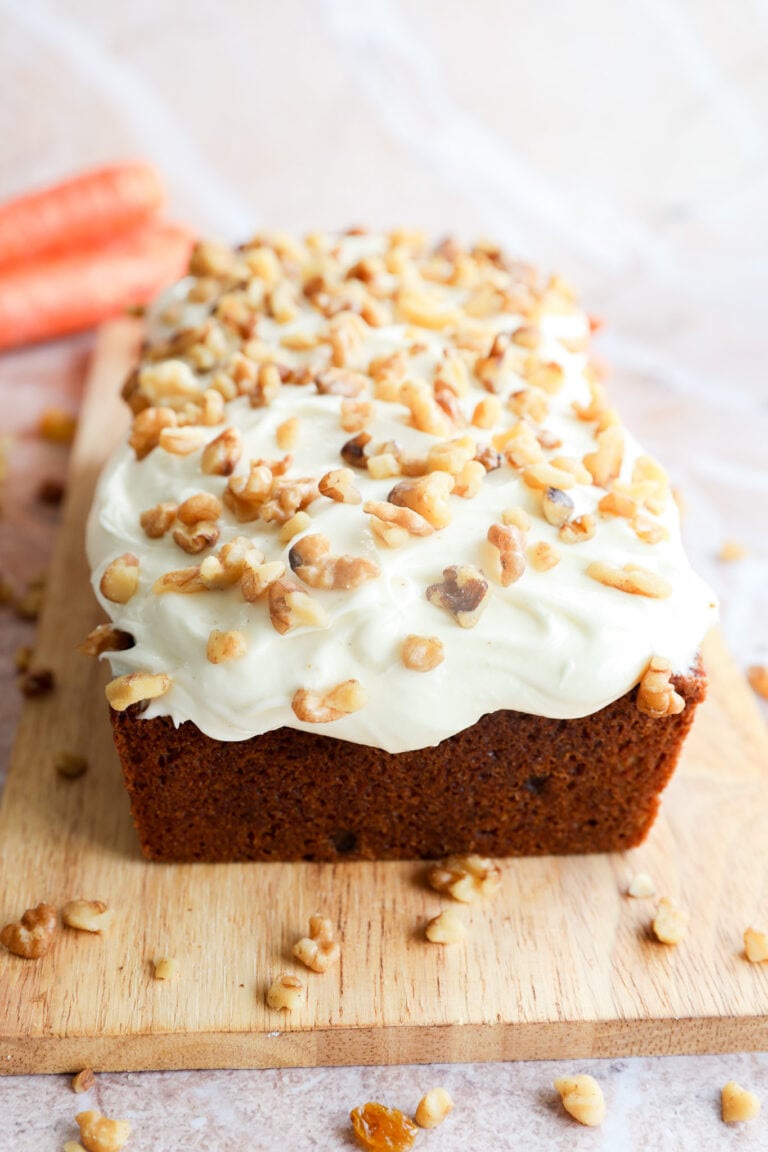
Carrot Cake Loaf
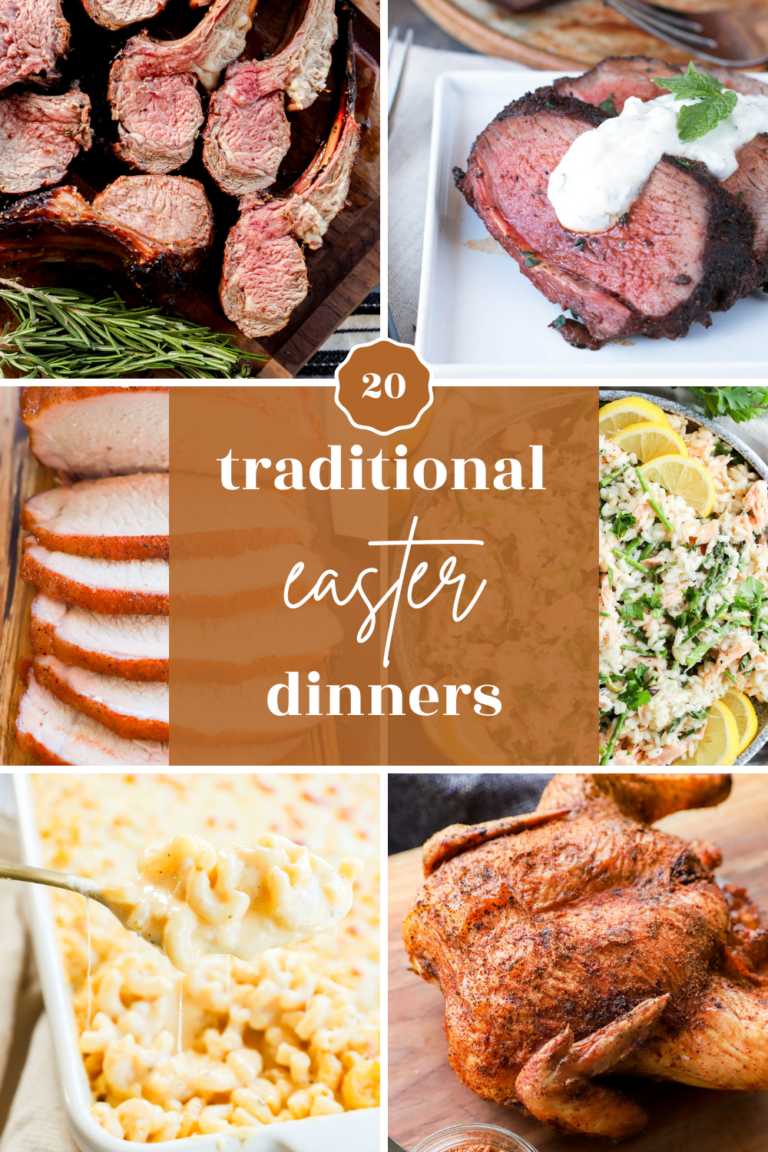
Traditional Easter Dinners for Every Table
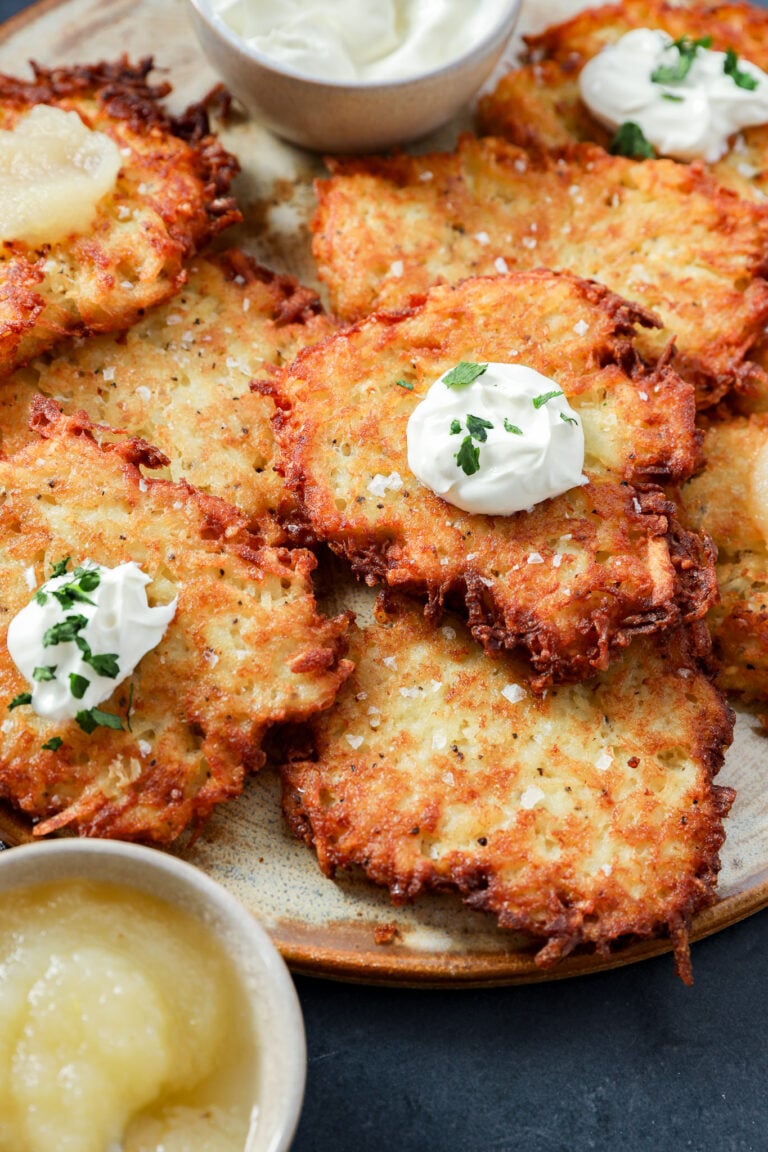
My Favorite Jewish Latkes
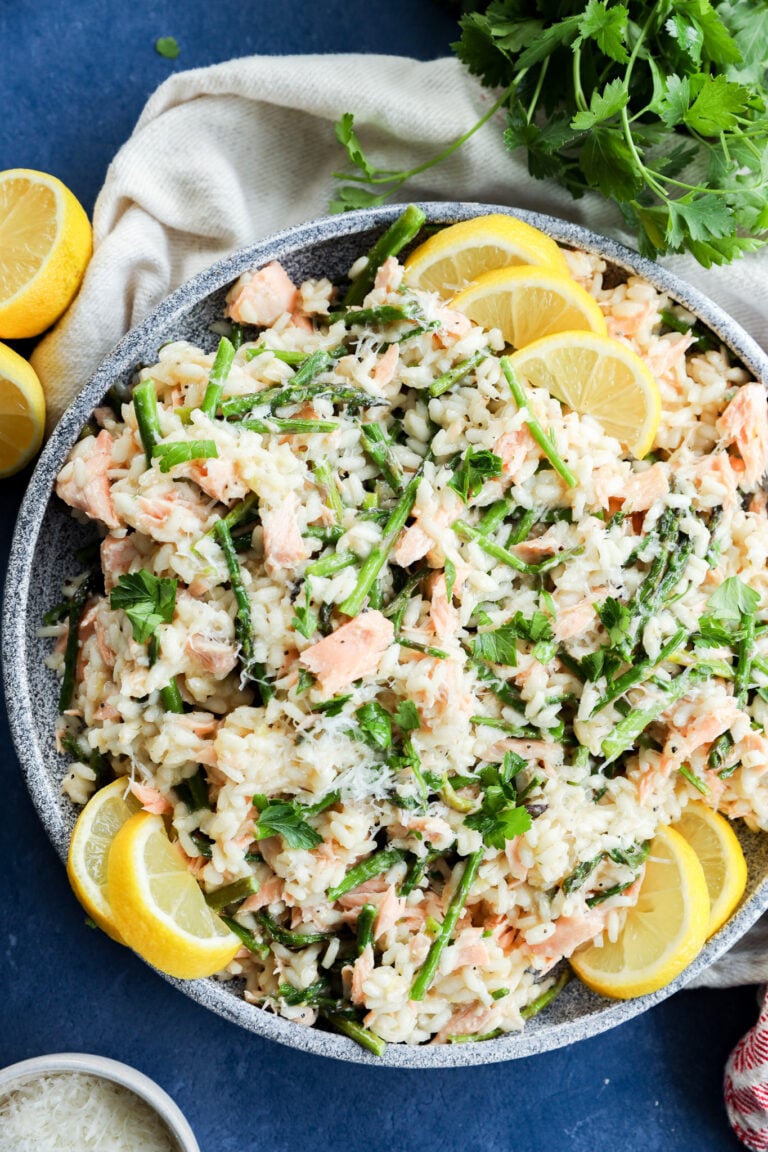
Salmon Lemon Risotto with Asparagus
Mini Blueberry Muffins
Page navigation
1
2
3
…
61
Next Page
Next
browse
Home
About
About
Work with Me
Recipes
Appetizer
Booze
Bread
Breakfast
Dessert
Brownies
Cakes, Pies, & Tarts
Cookies
Ice Cream
Main Dish
Meat
Pasta
Pizza & Flatbreads
Pork
Poultry
Sandwiches
Seafood
Seasonal Cooking
Salad
Side Dish
Soup and Stews
Newsletter
Shop
never miss a recipe
Facebook
Instagram
Pinterest
- FREE E-COURSE -
start cooking
in just 5 days!
Home
About
Toggle child menu
Expand
About
Work with Me
Recipes
Toggle child menu
Expand
Appetizer
Booze
Bread
Breakfast
Dessert
Toggle child menu
Expand
Brownies
Cakes, Pies, & Tarts
Cookies
Ice Cream
Main Dish
Toggle child menu
Expand
Meat
Pasta
Pizza & Flatbreads
Pork
Poultry
Sandwiches
Seafood
Seasonal Cooking
Salad
Side Dish
Soup and Stews
Newsletter
Shop
Toggle child menu
Expand
Cookbooks
Amazon Shop
SUBSCRIBE
Toggle Menu Close
Search for:
Search